Log in to Endor Labs
- Visit https://app.endorlabs.com to access the login page.
-
You can sign in to Endor Labs with the following options:
- Google Workspace
- GitHub
- GitLab
- Email Link
- Supported enterprise SSO providers
-
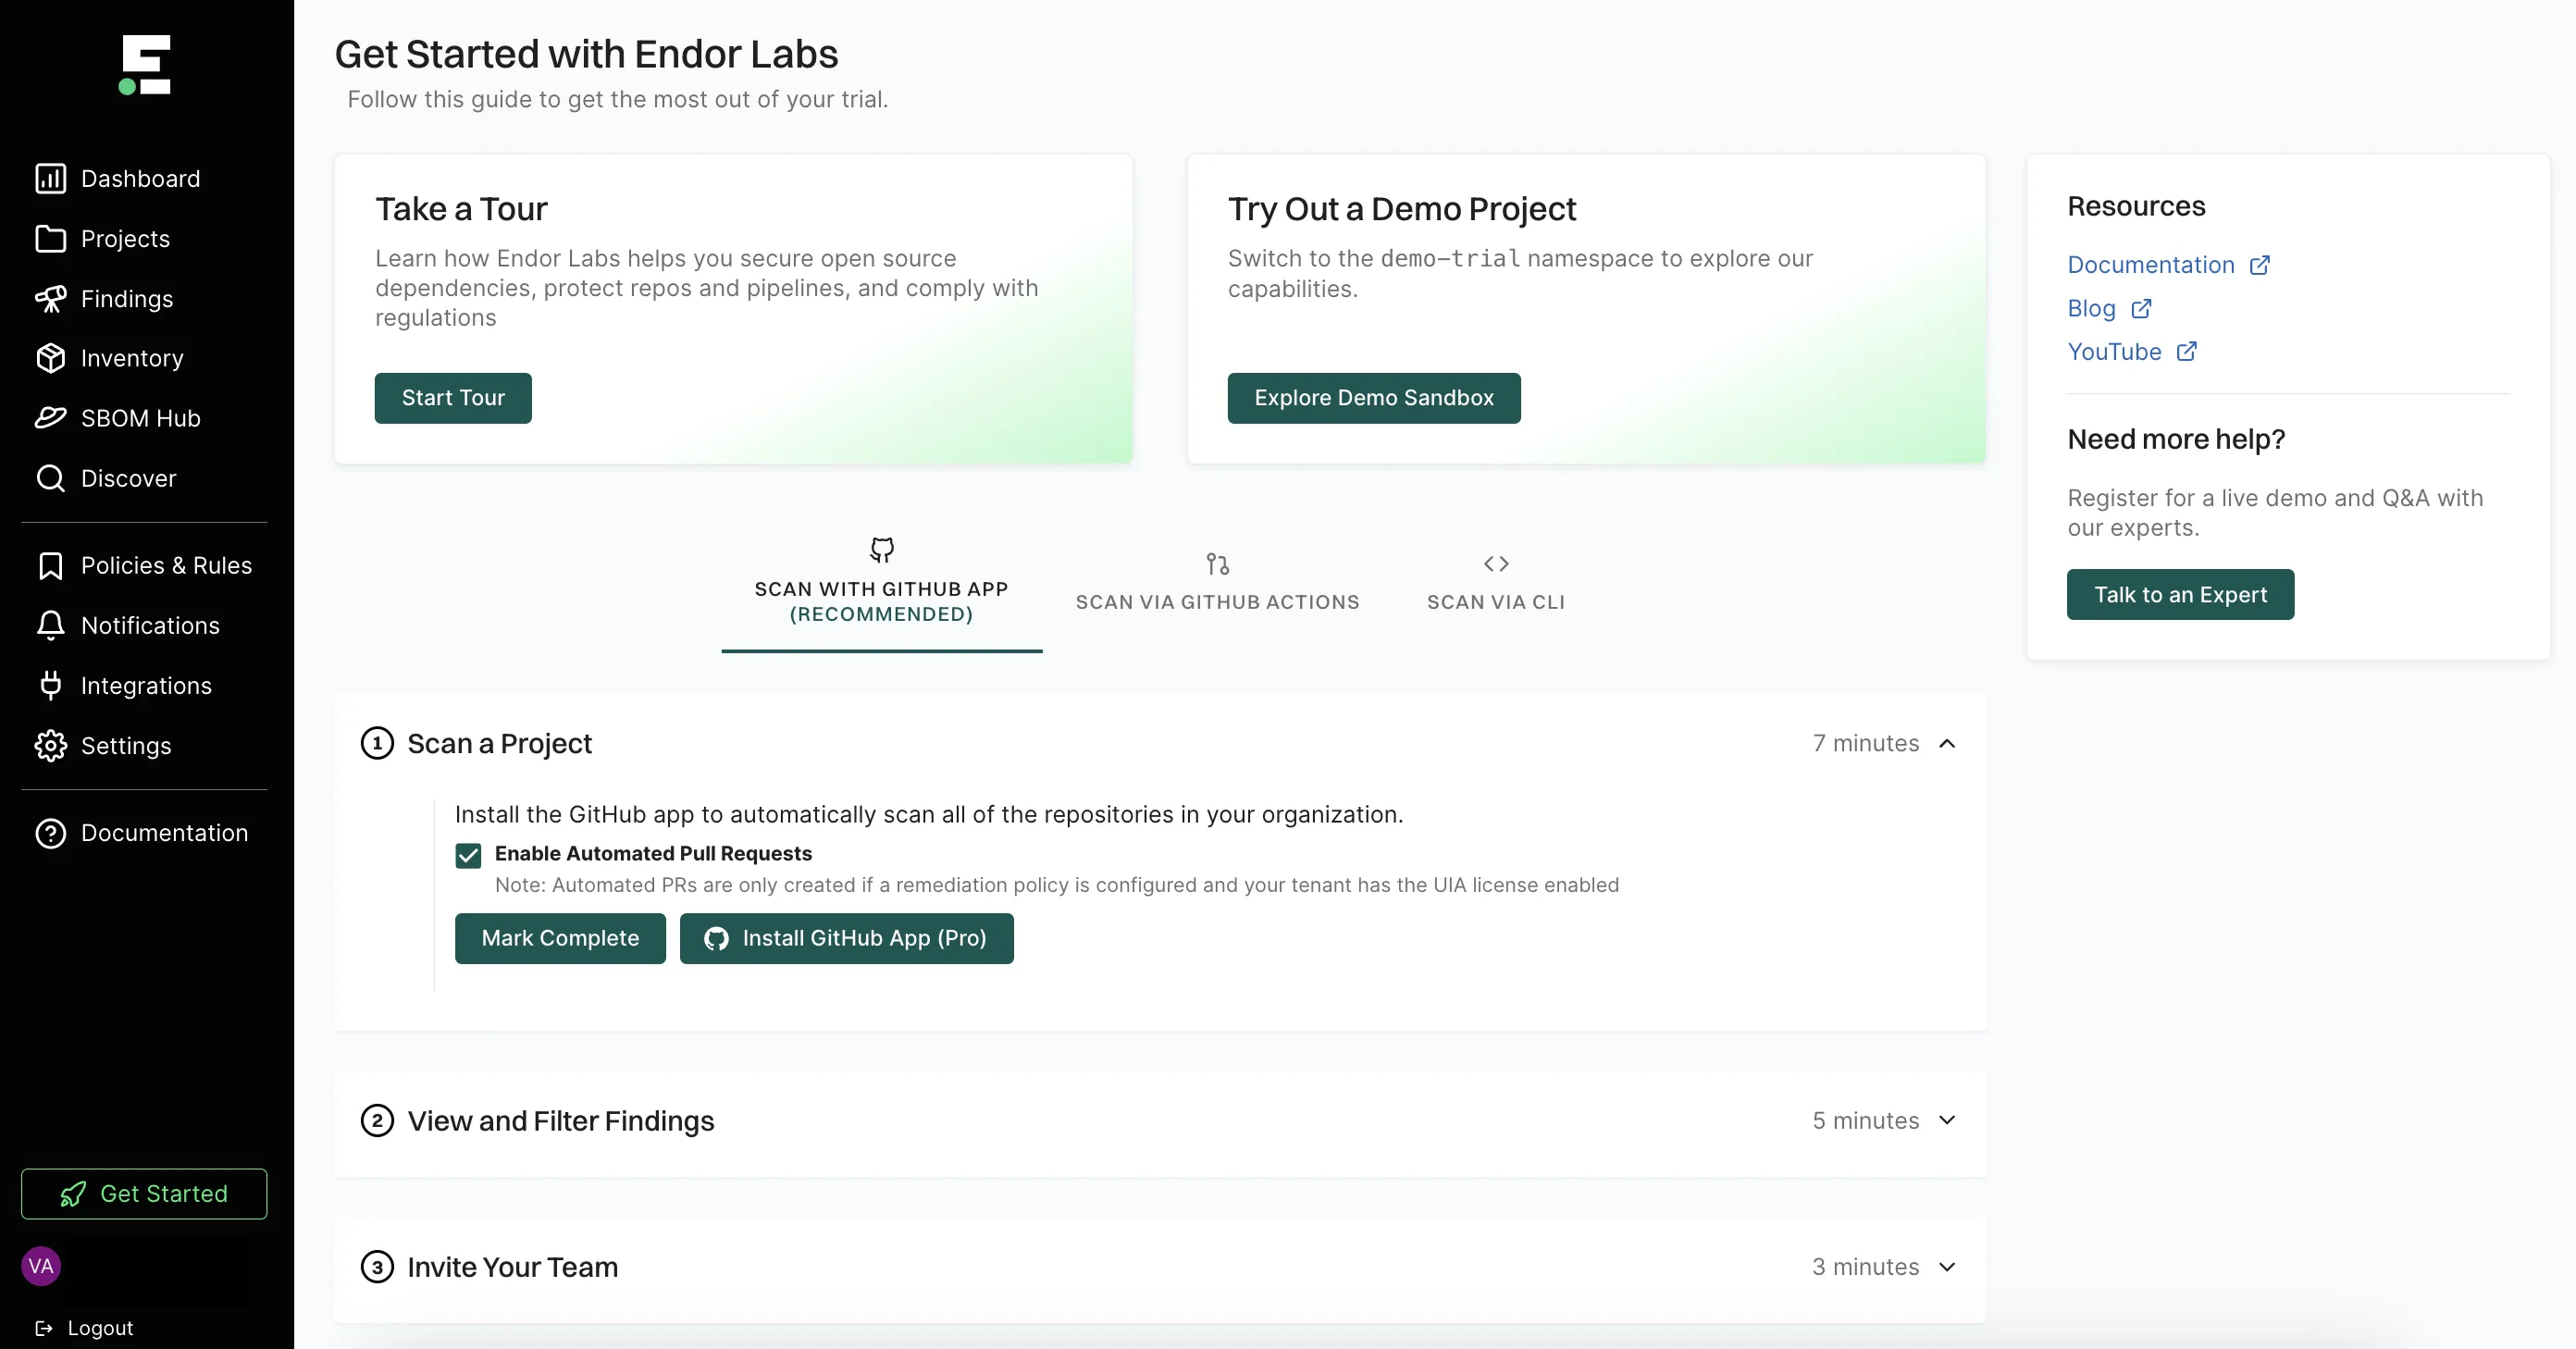
Select Get Started on the left sidebar to explore the available options.
- Select Start Tour to take a guided tour of the application and understand its main features.
- Select Explore Demo Sandbox to view Endor Labs capabilities and explore its features in a read-only tenant.
- Select SCAN WITH GitHub App to install the Endor Labs GitHub App.
- Select SCAN VIA GitHub Actions to scan a demo repository from GitHub and view findings.
- Select SCAN VIA CLI to set up your tenant and start scanning your repositories with the CLI.
- See the quick start to set up with your first project scan.
Quick start
Log in to Endor Labs and select Get Started from the left sidebar to view the options. You can choose from the following options: You can also use GitHub Actions to scan demo projects.Quick start with GitHub App
This guide provides instructions on how to get started with Endor Labs using the Endor Labs GitHub App. You can install the GitHub App or the GitHub App (Pro).The GitHub App (Pro) facilitates PR remediation. See PR remediation for more information.
Prerequisites for GitHub App
Before installing and scanning projects with Endor Labs GitHub App, make sure you have:- A GitHub cloud account and organization. If you don’t have one, create one at GitHub.
- Administrative permissions to your GitHub organization. Installing the Endor Labs GitHub App in your organization requires approval or permissions from your GitHub organizational administrator.
- Endor Labs GitHub App requires read permissions to Dependabot alerts, actions, administration, checks, code, commit statuses, issues, metadata, packages, pull requests, repository hooks, and security events. It does not need write access to any resources.
Set up the GitHub App with Endor Labs
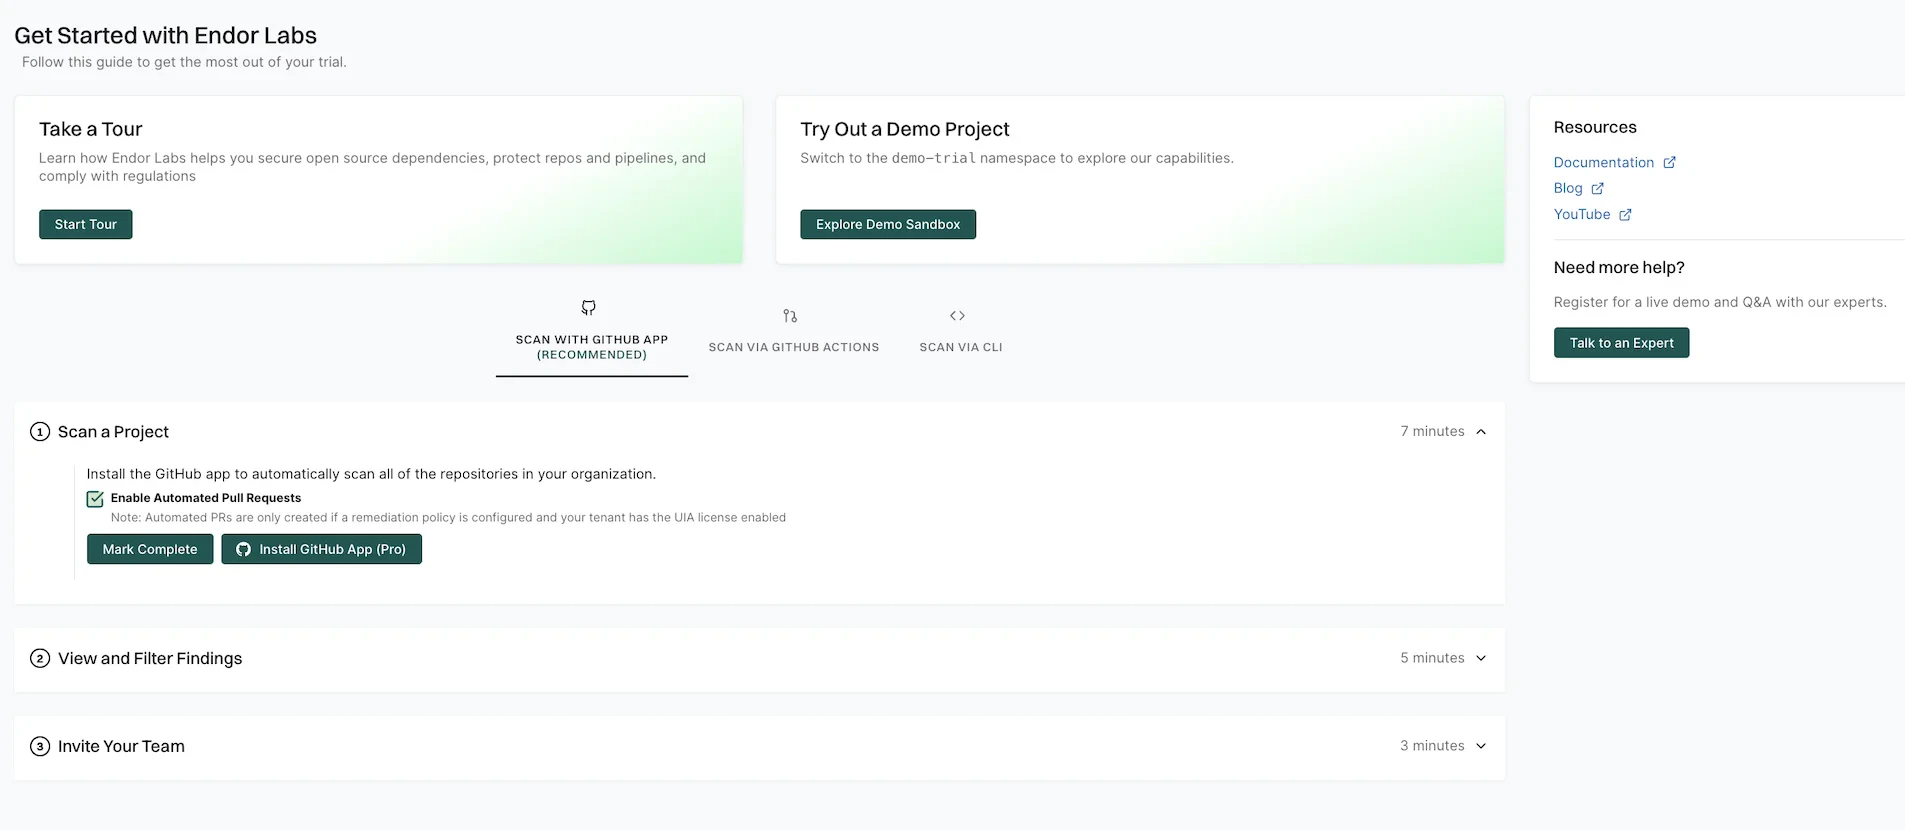
- Sign in to Endor Labs and select Get Started from the left sidebar.
-
Select SCAN WITH GitHub App and click Install GitHub App Pro.
Deselect Enable Automated Pull Requests to disable automatic PR remediation and to install the GitHub App.
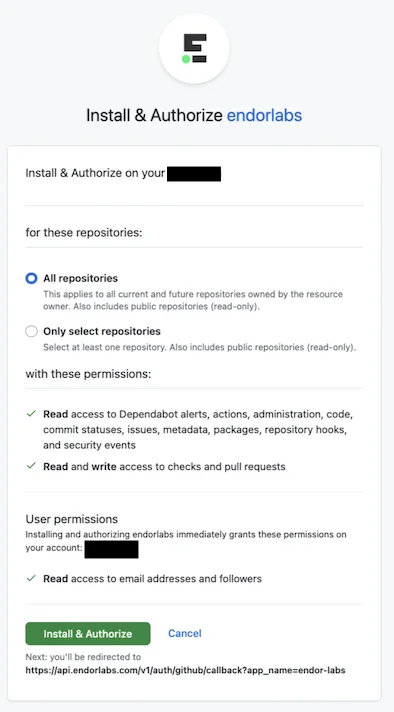
- Choose the user and the organization where you wish to install the app.
- Select whether to install and authorize Endor Labs on all your repositories or select the specific repositories that you wish to scan.
-
Click Install & Authorize.
If the button to install says Install and Request instead of Install and Authorize, you don’t have permission to install the app. Select Install and Request to notify your organizational administrator of your request.
-
Select the Endor Labs namespace that you want to use and click Next.
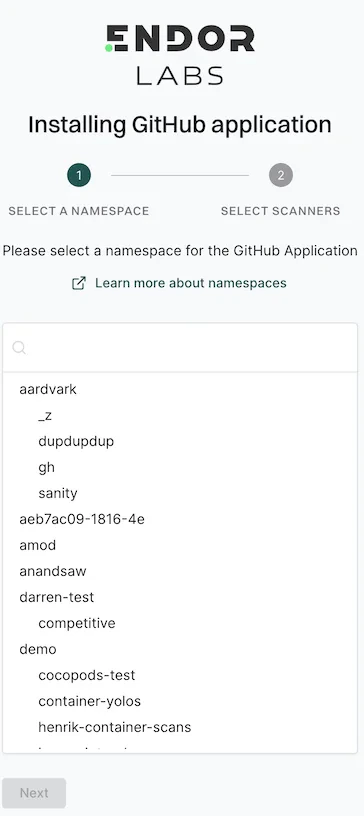
-
Select the scan types to enable under SCANNERS.
The following scanners are available:
- SCA: Perform software composition analysis and discover AI models used in your repository.
- RSPM: Scan the repository for misconfigurations.
- Secret: Scan the repository for exposed secrets.
- CI/CD: Scan the repository and identify all the CI/CD tools used in the repository.
- SAST: Scan your source code for weakness and generate SAST findings.
- Select Include Archived Repositories to scan your archived repositories. By default, the GitHub archived repositories aren’t scanned.
-
Select the PULL REQUEST SCANS to automatically scan the PRs submitted by users.
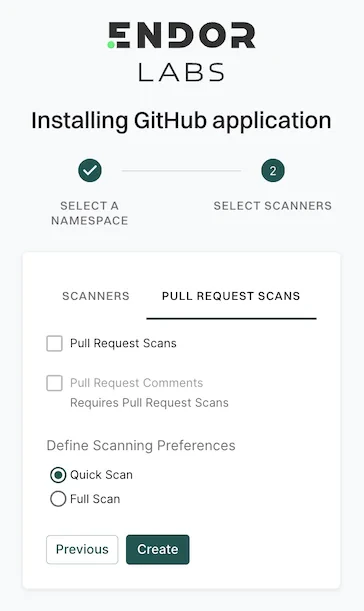
- Select Pull Request Comments to enable GitHub Actions to comment on PRs for policy violations.
-
In Define Scanning Preferences, select either:
- Quick Scan to gain rapid visibility into your software composition. It performs dependency resolution but does not conduct reachability analysis to prioritize vulnerabilities. The quick scan enables users to swiftly identify potential vulnerabilities in dependencies, ensuring a smoother and more secure merge into the main branch.
- Full Scan to perform dependency resolution, reachability analysis, and generate call graphs for supported languages and ecosystems. This scan enables users to get complete visibility and identifies all issues dependencies, call graph generation before merging into the main branch. Full scans may take longer to complete, potentially delaying PR merges.
- Click Create.
Quick start with endorctl
This guide provides step-by-step instructions to set up and configure an Endor Labs tenant while getting started with your first project scan in your local system. Use the following steps to scan your first project with Endor Labs:- Install Endor Labs on your local system
- Authenticate to Endor Labs
- Clone your repository
- Scan your first project
- Review your results
Install endorctl
Use one of the following methods to install endorctl on your local system.Install with Homebrew (macOS/Linux)
Install with npm (macOS/Linux/Windows)
Download binary directly
- Linux
- macOS
- Windows
Authenticate to Endor Labs
To authenticate your client with Endor Labs, utilize the built-in commandendorctl init along with an external identity provider. Endor Labs supports multiple identity providers, including Google, GitHub, GitLab, Email link authentication, and Custom Identity Provider through Enterprise SSO.
- Google
- GitHub
- GitLab
- Email
- SSO
Clone your repository
Upon successful authentication to Endor Labs usingendorctl, proceed to clone the repository you intend to scan. If you prefer initiating with a dummy app for scanning, feel free to skip to the next step.
To clone a Git repository, use the git clone command followed by the clone link of the repository. You can find the URL on the repository’s page on a platform like GitHub or GitLab. For example,
https://github.com/username/repo-name.git with the actual URL of the Git repository you want to clone.
Navigate to the repository you’ve cloned.
Run your first scan
Endor Labs supports three distinct scan types. See each section for instructions on how to run each scan type with Endor Labs.When performing a scan, you can specify a namespace. If left unspecified, projects are created in the root namespace of the tenant. This is important if the user or token has restricted access to specific namespaces. See Namespaces in Endor Labs to learn more about namespaces.
Scan for OSS risk
Follow these steps to scan with Endor Labs for open source risk:- Install software prerequisites
- Clone your repository
- Build your software
- Scan with Endor Labs for OSS risk
Install software prerequisites
The following prerequisites must be met to scan with Endor Labs for OSS risk:- A local installation of Git or the ability to clone repositories in CI. See the Git documentation for instructions on installing Git
- A runtime environment and build tools for supported software development languages your team uses must be installed on any system used for testing. For more information, see Supported languages and frameworks.
Build your software
To run a complete and accurate scan with Endor Labs, ensure that the software can be successfully built, incorporating well-formatted manifest files. To maximize the benefits of an Endor Labs OSS scan, you should perform a comprehensive testing as a post-build step, either locally or in a CI pipeline. Use the following commands to verify that the software can be built successfully with well-formatted manifest files before initiating the scan.- Java (Maven)
- Java (Gradle)
- JavaScript (npm)
- JavaScript (yarn)
- JavaScript (pnpm)
- JavaScript (Rush)
- .NET (dotnet)
- PHP (composer)
- Golang
- Python (pip)
- Python (poetry)
- Ruby (bundler)
- Swift/Objective-C
- Scala (sbt)
- Scala (Gradle)
- Rust (Cargo)
Scan your project for OSS risk
To scan and monitor all packages in a given repository from the root of the repository, run the following command:--languages flag:
<languages-list> should be provided as a comma-separated list from the supported languages: .
Scanning an example repository
To scan an example repositoryhttps://github.com/OWASP-Benchmark/BenchmarkJava.git, you must perform the following steps after successfully authenticating to Endor Labs:
-
Clone the repository
https://github.com/OWASP-Benchmark/BenchmarkJava.git -
Navigate to the repository on your local system
-
Build the repositories package with Maven:
-
Scan the repository
Scanning for leaked secrets
The following procedure should be used to scan with Endor Labs for potential secrets leaked into your source code. To scan for all potentially leaked secrets in the checked out branch of your repository, run the following command:Scan for GitHub misconfigurations
Endor Labs allows teams to scan their repository for configuration best practices in alignment with organizational policy.Prerequisites
To scan the GitHub repository, you must have:- The GitHub repository HTTPS clone URL
- A personal access token with access administrative access to the repository. For help creating a personal access token see GitHub documentation.
- The GitHub API URL (This is typically the FQDN of the GitHub server)
- A local copy of the CA Certificate if the certificate is self-signed or from a private CA
Running a misconfiguration scan
To scan a GitHub repository for misconfigurations:-
Export your personal access token as an environment variable:
-
Scan the repository to retrieve configuration information and analyze the configuration against organizational policy or configuration best practices:
--github-api-url flag to your GitHub Enterprise server domain name:
Review the results of your project
- Sign in to the Endor Labs user interface, click Projects on the left sidebar.
-
The Findings section provides a summary of vulnerabilities found in each project, categorized by severity:
- C: Critical
- H: High
- M: Medium
- L: Low
-
Under Packages, the number indicates the identified packages. Click on the icon next to the number to open a right sidebar containing the following details :
- Project metadata: Information such as UUID, repository details, dependencies, and repository versions.
- Findings: A breakdown of the detected vulnerabilities categorized by dependency, package, repository, secrets, and CI workflows.
- Tools used during analysis: A list of tools involved in the scanning process.
- Select your project to view its details. See Findings for more information.

Next steps
- Explore the Endor Labs user interface to learn how to navigate through the platform.